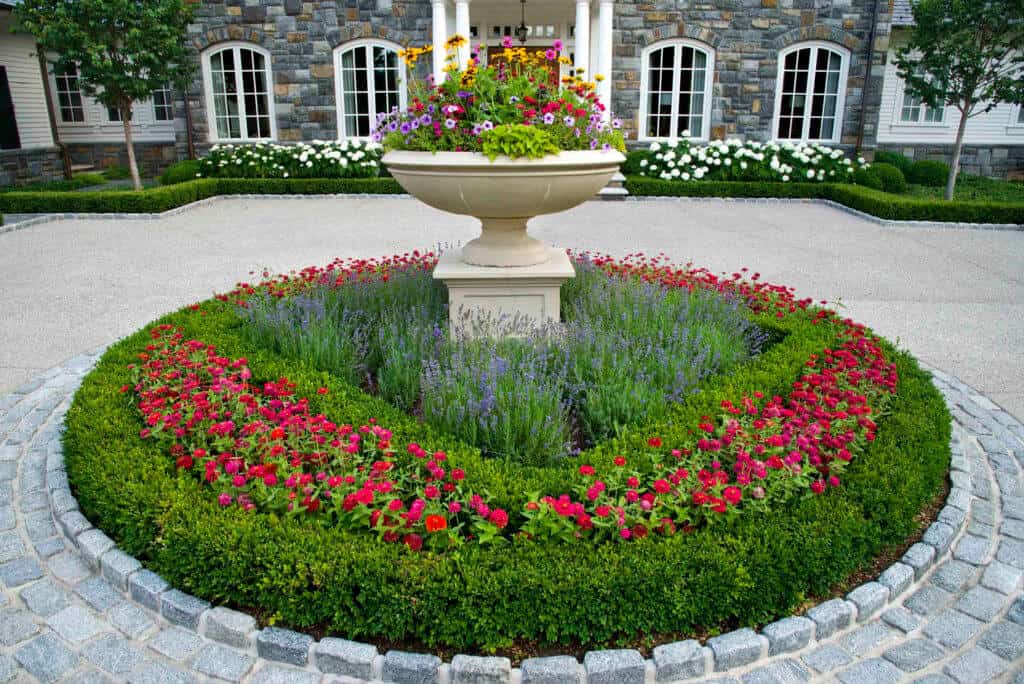
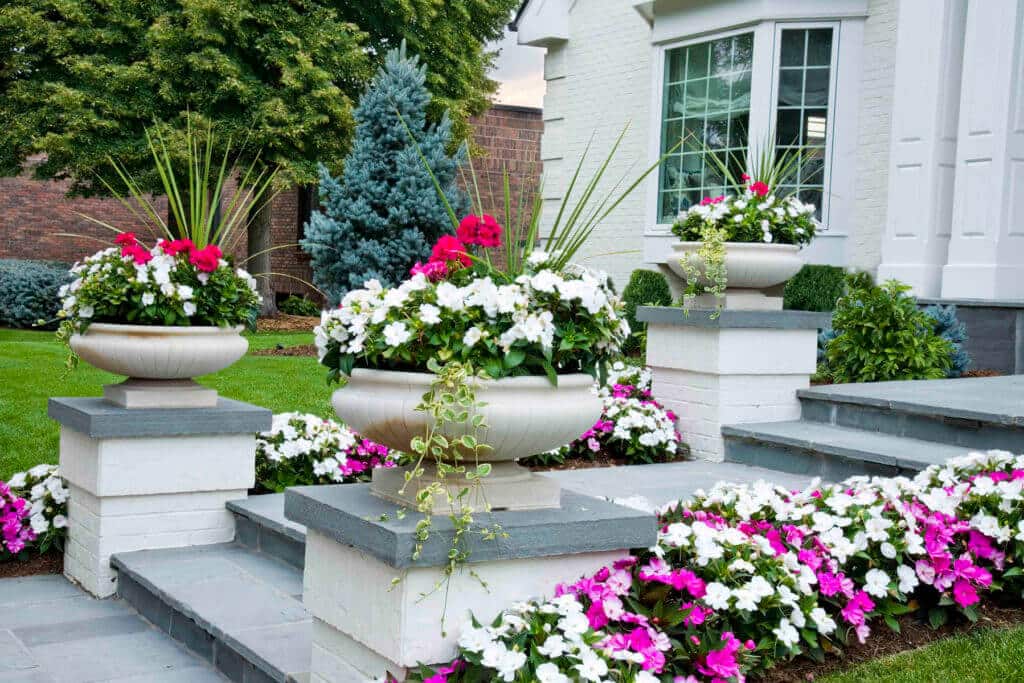
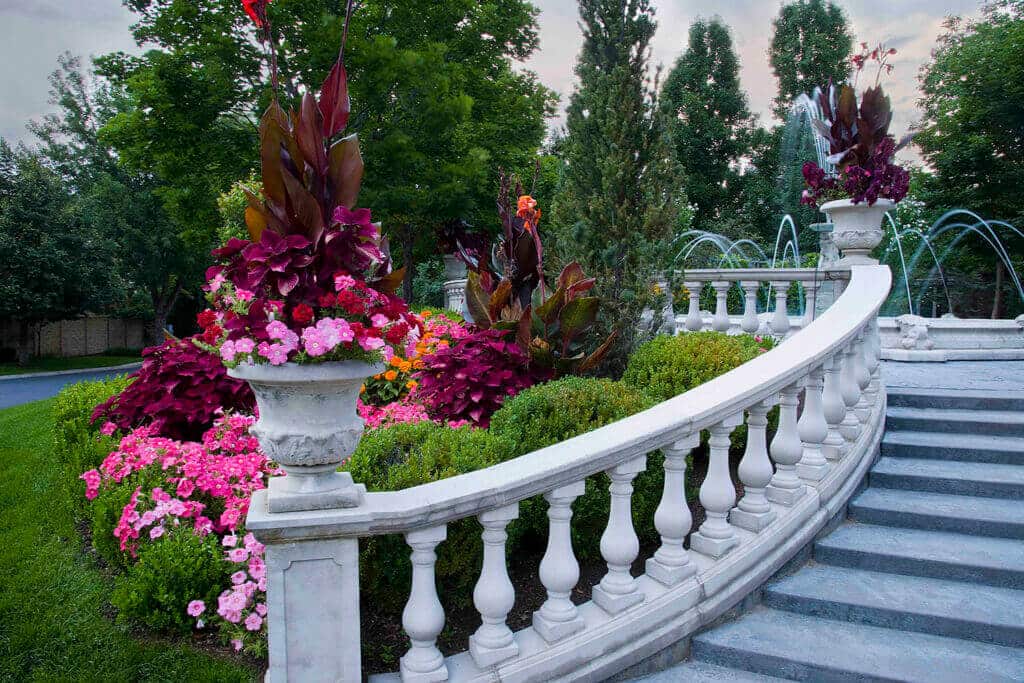
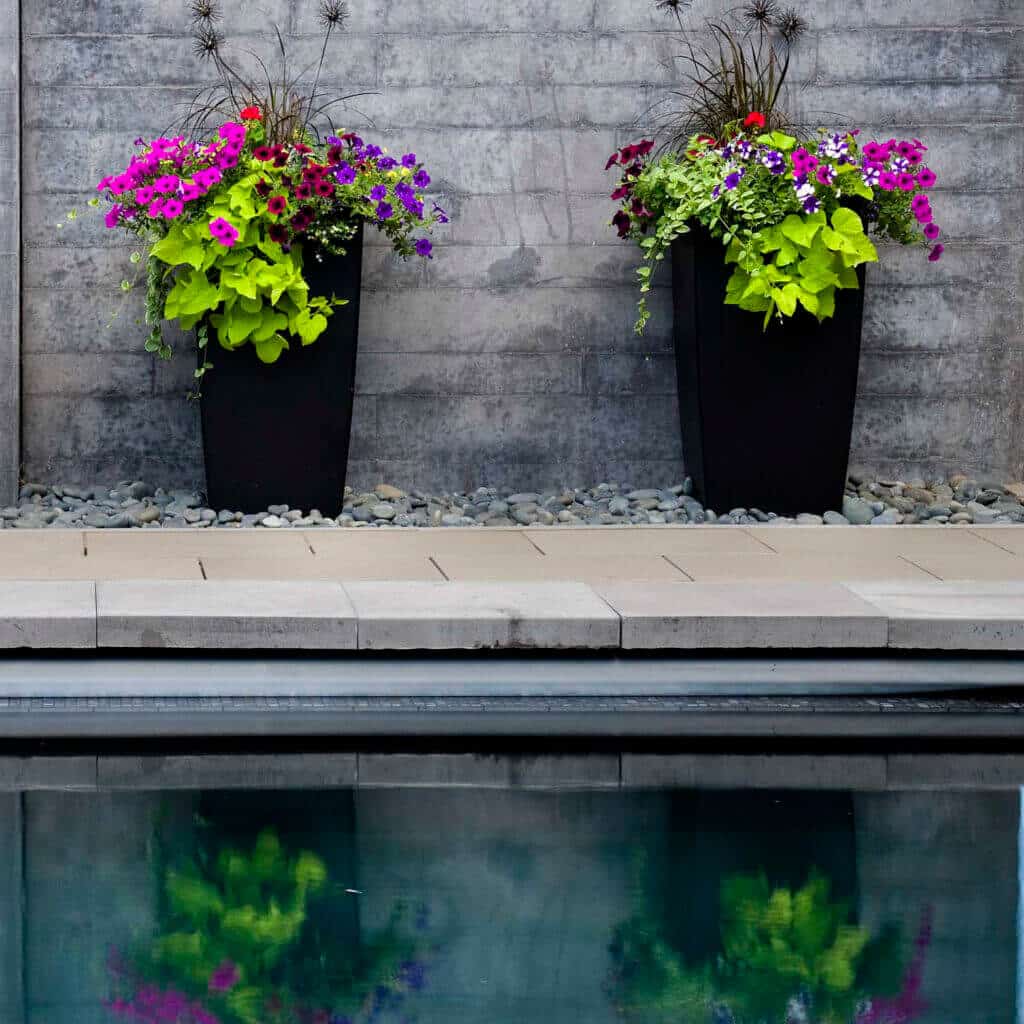
Lifescape’s own Eric Ball was recently featured in Colorado Homes & Lifestyles magazine giving valuable expert advice on successful container planting. He discussed 6 important steps to follow for lush, thriving containers. Here are the highlights!

Lifescape’s own Eric Ball was recently featured in Colorado Homes & Lifestyles magazine giving valuable expert advice on successful container planting. He discussed 6 important steps to follow for lush, thriving containers. Here are the highlights!
This article originally appeared in the May 2019 issue of Colorado Homes & Lifestyles Magazine.
Click here to read the complete article.
Step 1: Find a container.
When it comes to choosing the right material, glazed ceramic is best. Metal containers are another possibility, but it’s important to stay mindful of the heat metal can attract and retain, as some plants don’t do well in hot and dry soil. Bigger is better. Larger containers hold more soil, and the larger the volume of soil, the larger the reservoir of water. Make sure there’s a drainage hole at the bottom of your container.
Step 2: Add a small layer of stone at the bottom.
Most plants need a good amount of water, especially here in Colorado, and water in translates to water out. A layer of stone over the drain hole will help. A good rule of thumb is that the stone layer should be 20 to 30 percent of the overall height of the container.
Step 3: Place a layer of fabric over the stones.
Landscape fabric should lie between the stone layer and the potting soil, as the stone and soil layers serve distinctly different purposes and should be separated. The fabric will also allow the water to drain efficiently.
Step 4: Pre-hydrate your soil.
A basic potting soil will get the job done—no need for fancy “miracle” products. The most important thing is to keep your soil hydrated and healthy. Potting soil is shipped dry and is actually hydrophobic, which means it takes a lot of watering before the soil will hold water. How will you know if you’ve successfully pre-hydrated your potting soil? Pick up a handful of soil and squeeze it—water should drip out.

Step 5: Be mindful of direct sunlight.
If the container will be receiving six or more hours of direct sunlight, then choose plants with the “full sun” symbol on their tags. If your plantings are located under an awning, ask yourself, “Is it always out of the sun? How much sun sneaks into the side of the awning?” It will serve you greatly to do a little research and observation.
Step 6: Continue hydrating and nourishing.
If you’re unsure about how much water a plant needs, here’s a quick test: Place your finger into the soil 1-2 inches deep (don’t mind the top layer of soil, as its color can be misleading). Is the soil warm and wet, slightly moist, or dry? If it’s wet, don’t water that day. If it’s moist, water half what you think you should. And if it’s dry, water it twice. Use a balanced, slow-release granular fertilizer 10 days after planting and then two more times during the season (depending on the label).
For more information on successful container planting, contact the experts at Lifescape today!